
Welcome to our in-depth guide to Nintendo Entertainment System (NES) reverse engineering! This page serves two roles. It groups all of our posts related to reverse engineering for the system, and it aggregates high quality sources from the web into create a unified reference.
The content starts high level, outlining the system, its history, and its official game development process, then moves into low level details with a focus on reverse engineering and homebrew development.
This section gives a high level overview of the Famicom/NES to give context that can be useful when trying to understand why the system works in a certain way and how officially licensed game developers worked with the system.
The Family Computer (Famicom) was released in Japan on July 15, 1983.
Despite the release of the Super Nintendo Entertainment System (SNES) in the early 1990s, the original Nintendo Entertainment System (NES) continued to maintain a substantial presence in the gaming industry.
In 1993, a surprising 55 new NES titles were released 1, showcasing the enduring popularity of the 8-bit console. This phenomenon can be attributed to several factors, including the affordability of the NES, its vast existing user base, and the dedication of developers and publishers who continued to support the platform.
If you are interested to see officially released or leaked source code for the Nintendo Entertainment System check out our other post:
The full source code for the NES game Home Alone was released online thats to the Game History Org and we have a specific post covering the details of the files included:
In this section, we’ll explore the hardware that powers the NES and how it can be reverse engineered. Understanding the hardware that drives the NES is key to unlocking its potential and gaining a deeper appreciation for the games that were developed for it.
We’ll take a closer look at the different components of the NES hardware, including the CPU, PPU, and APU, and discuss how they work together to create the unique gaming experience of the NES.
Since Nintendo were very new to the home video game market, they saw themselves as creating most of the software that will run on the NES. So they did not make a public NES development kit, so most third parties has to roll their own development kits.
We have a specific post covering all the NES development kits that we know about here:
If you’re interested in learning more about the hardware architecture of the NES, we highly recommend checking out the post on Copetti.org. This website is dedicated to exploring the technical details of the NES hardware, including the CPU, PPU, and APU, as well as other components that make up the console. You’ll find in-depth explanations of how each component works, as well as detailed schematics and diagrams that help illustrate the inner workings of the NES.
Although all NES cartridges look similar from the outside apoart from a different sticker and maybe a different color cartridge casing, the internals can be vastly different from game to game.
This is especially the case in Japan where Nintendo allowed third party developers to manufacture their own cartridges, which means they could add additional microchips inside, such as custom memory mappers.
However the same wasn’t the case in the west as described in this quote from MobyGames:
Nintendo didn’t normally allow developers to use custom mapper chips in western releases, instead requiring them to reprogram their games for Nintendo’s own MMC mappers. This is because Nintendo manufactured all cartridges in the west. Mr. Gimmick and Batman:Return of the Joker (which uses the same FME-7 mapper chip) are the only two official western NES releases to use custom mapper chips.
For emulators to support all the different cartridge hardware, emulator authors came up with the concept of Mappers which are part of the iNES Header and are used by emulators to vary the emulation based on what Mapper the game ROM is defined as using.
Have you ever wondered about how a NES controller actually works, such as the circuits and electronic components used to physically create it?
Well you are in luck, the YouTuber Displaced Gamers explains exactly how the electronics of the NES controller works and a few interesting facts along the way!
He opens up the NES controller revealing the physical wires, traces (green lines on the circuit), rubber membranes and the 8-bit shift register (HD14021BP).
The Controller as with all electronics has both a Power (High) and Ground (Low) lines, with 5V used for Power. Ground is connected to all of the buttons including the 4 D-pad buttons, whereas the Power lines go straight to the Carbon Printed Pull-Up resistors which then in-turn goes to each of the buttons.
When a button is pressed it completes the circuit at that point meaning it is pulled Low (Grounded) which allows the shift register to know that button is pressed. The resistors are used to make sure the power lines are always High, so we can ensure that when a pin is pulled low it has definitely been pressed.
There was an official software development kit provided by Nintendo/Intelligent Systems for the NES/Famicom but Nintendo didn’t distribute it to third party developers. Instead developers were required to either get an off-the-shelf 6502 assembler or write their own. Paired with a booklet covering how the NES handled graphics, input and sound, this was all that game developers got in terms of software for game development on the NES.
Nowadays there are many open source assemblers, IDE’s and even high level language compilers that can be used to create NES homebrew games.
On average, NES game development could take anywhere from several months to a couple of years. Some simpler or shorter games might be developed more quickly, while larger, more complex titles could take longer.
Most game development teams only hand a handful of people working full time on the game, mostly programmers. Artists and Sound Engineers were often working on multiple projects at the same time. Music was usually created and added to the game near the end of the development process when the game was getting ready to be shipped.
Some examples of the length of time it took to develop Nintendo Entertainment System games are:
The British company Rare made gaming history by becoming the first non-Japanese licensed game developer for the NES, securing the license from Nintendo through an ingenious demonstration of their skills by reverse engineering the console and showcasing the game “Slalom” as a convincing demo to Nintendo in 1986 5.
They created their own development kits based on the PDS and you can find out more about it in our post on the NES Development Hardware:
The Official Famicom SDK was created by Nintendo and Intelligent Systems in 1986, as revealed by a file leaked in the Nintendo Gigaleaks. The file, called HDT.EXE, was included with the source code to the Game Boy Zelda game.
It contains the NES/Famicom Debugger, a tool developed by Intelligent Systems between 1986-1989, which appears to read in three file formats: CHR (Character/Tile Data), SCR (Screen data or Source Data), and CGD (possibly standing for Character Graphic Designer, though this is uncertain).
Hardcore Gaming 101 has a video showing the design document created for the Famicom game Guardian Legend:
We have a specific post covering exactly how emulators work including tips for writing your own emulators:
We have a specific post on the history of NES emulation:
When reversing or developing NES games it is vital to use a good emulator which has debugging support such as:
Here is a list of a few Open Source emulators that have some of these features:
By modifying the code, graphics, or sound of an NES game, you can create new levels, characters, or even entirely new games that build upon the classic gameplay and aesthetics of the original.
Additionally, modding NES games can be a great way to learn more about the technical aspects of game development and programming.
Released on the 1st July 1987 by I-2 Co. Ltd 6 the Tonkachi Editor was a Famicom Disk System Disk which allowed editing of other Famicom Disk System games. This is the earliest ROM Hacking software we are aware of and was sold in retail stores in Japan.
This was years before the first Game Genie’s were released and it was far more powerful than any chat cartridge that was ever released in the west.
Since Famicom Disk system games were written on re-writeable Quick Disks all the software needed to do was load itself into memory, ask the user to put the game they want to modify in and then allow the user to change bytes in HEX or ASCII format before writing the game out to a free slot on the card.
Although it was quite cumbersome as in order to test out the changes you would need to write the card and reboot the system into the written game. So some people used multiple Disk systems, so they could keep the Tonkachi Editor editor running on one of them and test out the changes on the other, without the constant restarting 6.
It came with a rather beefy 63 page manual in A5 format, printed in black and white. Apparently it even teaches some basic 6502 assembly language 6! It even documented how the original Super Mario Bros worked (although it is inaccurate), that would become the basis of our deep understanding of the game to this day.
Yes there was a ROM hack of the original Super Mario Bros called Hammer Mario which may be one of the first ROM hacks ever created! 6.
Yes cartridge games were supported (on the twin fami) but only up to 320kb could be transfered on to the disk cards so when Nintendo started releasing larger cartridge based games they could not be edited 7.
Similar to cheat books that were published for cheat cartridges there was a magazine produced called the Hammer News, it had 6 volumes and was created by users writing in to i2 with their own findings modifying Famicom Disk System (and even ROM cartridges).
Despite the success of Tonkachi Editor no other companies created competitors, the only thing that came close was the Quick Hunter Parameter software (クイックハンター) for the Famicom Disk System 6.
It’s not quite clear what the Quick Hunter Parameter software actually did, but since Quick Hunter itself was a illegal Disk copier, presumably the Parameter Disks allowed some minor modifications such as a cheat code to be inserted.
There was at least 3 Parameter software disks released in japan 8.
Although I can only find photos of the main software and two parameter disks:
The main cheat cartridge available for the NES was the Game Genie created by Codemasters (Distributed by Galoob & Hornby Hobbies). This was a physical connector that would sit between the NES and the Game Cartridge you wanted to cheat on. It would alter the signals based on which memory addresses were being read/written to in real-time based on the Cheat code that was loaded into the system.
The Game Genie used a special encoding format for its codes which can be encoded and decoded using this handy online tool: Game Genie Encoder/Decoder
If you want to permanently modify one of your NES ROM files with a certain cheat code there is a Windows Only tool to do this created by rdurbin: Romhacking.net - Utilities - Permanent Game Genie
Corrupting the memory of a ROM has become very popular over on Youtube with creators such as Vinesauce regularly using ROM corruptors on popular games to produce some interesting results.
If you want to try it yourself we recommend the Real-Time Corruptor Vanguard (RTCV) available on Github: redscientistlabs/RTCV: Real-Time Corruptor, Vanguard, CorruptCore, NetCore2 https://redscientist.com/rtc. It is written using DotNet so it should work on Windows and MacOSX/Linux via Mono.
For more information we have a specific post on the topic of Game memory corruption:
The Youtuber Javidx9 has created a system that randomly corrupts the memory of a NES game (every 5 seconds) as it runs just for the fun of seeing the chaos that follows. The interesting part of this is that his system is somewhat smart in that it tracks the most common memory addresses used per frame (excluding screen memory) and changes those at a higher rate compared to just random memory locations.
Apparently the source code was once linked on the twitch page, but it is sadly so old now that the link has disappeared, it would have been really interesting to see it!
You can easily replace the 2D Sprites and Tiles from a NES game with HD/4K alternatives using specific emulators such as Mesen and HDNes. The gameplay is unchanged as it overlays the HD Graphics on top of the game and doesn’t have any of the colour limitations of the NES hardware. These modifications as emulator specific and will not modify the original ROM.
Mesen even comes with a HD Pack Builder Tool to create your own texture packs, for more information: HD Packs :: Mesen Documentation
The best 6502 Assembly tutorial for the NES has to be Brian Parker’s Nerdy Nights tutorial series which goes from the basics all the way up to writing a version of pong!
It stats with basic architecture and moves through PPU graphics (sprites, backgrounds), APU sound engine creation, and advanced mappers like MMC1.
The original posts have been taken down but you can find a mirror here:
Coding Tech presents a talk by Christian, a web developer who spent three months learning 6502 assembly to build a game for the NES. The presentation walks through the technical hurdles of retro development, from understanding ROM board architecture and the Picture Processing Unit (PPU) to writing low-level code for sprite movement and controller input using the CC65 toolchain.
The game developer Morphcat Games has released a video on how they created an impressive game called Micro Mages in just 40KB without using a mapper (NROM board):
It mentioned Metatiles and techniques for optimizing tile usage (removing duplicates and using mirroring).
For an introduction to how the NES renders graphics to the screen checkout Austin Morlan’s excellent article on his website: An Overview of NES Rendering - Austin Morlan.
It covers the following topics related to NES Graphics:
NesHacker provides a technical deep dive into the Nintendo Entertainment System’s graphics architecture, focusing on the Picture Processing Unit (PPU). The video explains the four critical memory sections used to render 8-bit graphics: Pattern Tables for raw tile data, Name Tables for background layouts, Palettes for color management, and Object Attribute Memory (OAM) for handling foreground sprites.
If you’re interested in exploring the inner workings of classic video games, reverse engineering is a process that can help you uncover the secrets of how these games were designed and programmed.
In this section, we’ll provide an overview of the basic techniques used to reverse engineer NES games, including disassembly, debugging, and memory analysis
If you are interested to see existing reversing projects for the NES check out our other post specifically on this topic:
Reverse engineering is a process that can help uncover the inner workings of these games and reveal how they were programmed, designed, and even uncover hidden easter eggs.
For more information on the basics and benefits of reverse engineering games in general check out our introductory guide:
When reversing NES games you will come across a variety of file formats, this section will try to cover all of the most common formats you will encounter.
The formats for NES ROMS (virtual cartridges) are:
Ghidra is an excellent tool to reverse engineer NES games but there is a lot to cover so we have moved this section to its own post which you can view here:
This section aggregates many of the excellent guides and write-ups of the process of reverse engineering NES games.
Ghidra uses pcode as an intermediate representation of machine code, enabling more abstract analysis and manipulation of binary instructions across different processor architectures during the reverse engineering process.
Ghidra provides a built-in emulator that can execute pcode, which has been put to good use in the ghidra-plays-mario Github project. Where they have taken the cpu emulation out of smolnes emulator and replaced it with the Ghidra pcode emulation and it plays the first level of Mario!
This isn’t a realistic way to play the game, it uses pre-recorded inputs, but it is an excellent want to test Ghidra’s pcode emulation! Allowing bugs to be found which when fixed will benefit all NES reversing projects.
The website Grid Bugs has written an excellent article on reverse engineering the NES version of Tetris to add functionality to the game called a Hard Drop. Check it out here: Reverse-Engineering NES Tetris to add Hard Drop
The security blog segfault.me has an excellent write-up of a Capture The Flag (CTF) challenge called Nestadia. The challenge involved reverse engineering a cloud-based NES emulator to find a flag hidden inside a game’s ROM. It is a fascinating read on a modern twist to classic NES hacking.
The original Super Mario Bros was the game that revolutionised platformers, with its smooth scrolling and excellent game design there was bound to be many reversing projects related to it. This section covers projects specifically targeted towards the classic platformer.
If you are interested in how Super Mario Bros works (or to really get an insight into how any NROM Mapper 0 game works) you need to check out A Comprehensive Super Mario Bros. Disassembly by doppelganger.
The website neilb.net has created what it calls a Mario Compiler which takes in the original Super Mario Bros ROM and disassembles it. The disassembled code is then shown to the user and can then be modified and re-assembled back into a working NES ROM. All from within the web application!
You can also view the source code for the project here: nbarkhina/MarioCompiler: A Super Mario Compiler written in JavaScript
Mitchell Sternke has created an impressive port of the original NES Super Mario Bros, he has written a tool that converts most of the 6502 assembly code into its equivalent C code. He has then written a PPU, Controller and APU emulation layer in C to make it all work into a portable C application running natively on the target hardware (No 6502 CPU emulation required!).
You can find it on Github here: SuperMarioBros-C/README.md at master · MitchellSternke/SuperMarioBros-C
Matthew Earl has an excellent post on how he managed to extract the level data for Super Mario Bros using the disassembly project and python scripts: Extracting Super Mario Bros levels with Python - Matt’s Ramblings
The developers of Retro City Rampage (V-blank Entertainment) created a limited NES port of their game for the NES and documented some of the major changes that they needed in order to get it to run on the real console:
This is a good introduction to some of the limitations you need to think about when developing a NES game.
According to RomHacking.net9 they were not allowed to release the NES ROM created for Grand Theftendo or even some of the documentation that they wrote while creating it. However the ROM is in the final game, so if you own the game it is possible to extract the NES ROM and play it in an emulator!
You need to use a tool called BFP Extractor to extract content from: the file gamedata.bfp at addresses 0x747E67D6 and 0xC87FC3A3 then create a iNES ROM Header for it with the following Hex values:
4E 45 53 1A 20 20 50 00 00 00 00 00 00 00 00 00
Then simply join the header with the content from address 0x747E67D6 and 0xC87FC3A3 together and name it as a .nes file.
The 6502 Microprocessor The 6502 microprocessor was an 8-bit microprocessor that was incredibly popular for 8-bit home computers (e.g Apple II) and consoles (e.g NES) due to its low cost.... ...

Home Alone 2 NES Source Code The Source Code for “Home Alone 2” was kindly released by Frank Cifaldi from GameHistoryorg (@frankcifald). Games on the same engine The same Game... ...
Introduction Game corruption has become a hot topic recently due to many you tubers playing through games that have in some way had their memory corrupted. This practise can cause... ...
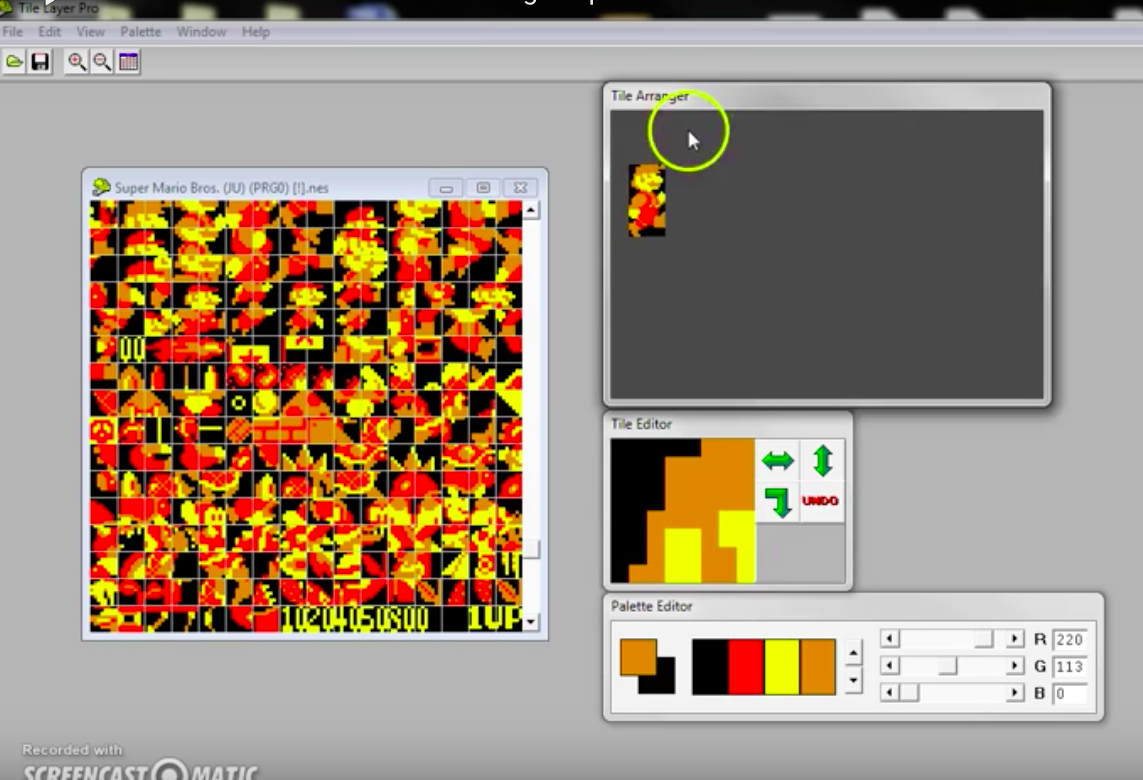
Sprite Tile editing with Tile Layer Pro If you have ever wondered how graphical rom hacks are made this is for you! This should work for most early games such... ...
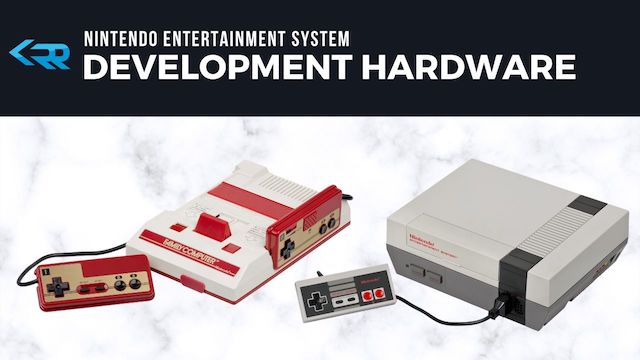
Introduction The Nintendo Famicom was released in Japan on 15th July, 1983 at a price of 14,800 yen. Development for the machine was strictly controlled by Nintendo as they didn’t want... ...
The History of NES Emulation The Birth of Emulation and the NES In the early 1990s, as personal computers became more powerful, a new frontier in gaming culture emerged: emulation.... ...
Introduction This page walks you through using Ghidra to reverse engineer NES ROMs using the Ghidra-Nes-Rom-Decompiler-Plugin. This plugin currently only supports a handful of the most common mappers but it... ...

Programming the NES Dry run of the Programming the Nintendo Entertainment System talk that Levi D Smith gave at Codestock 2014 in Knoxville, Tennessee. !!Con 2017: Writing NES Games! with... ...
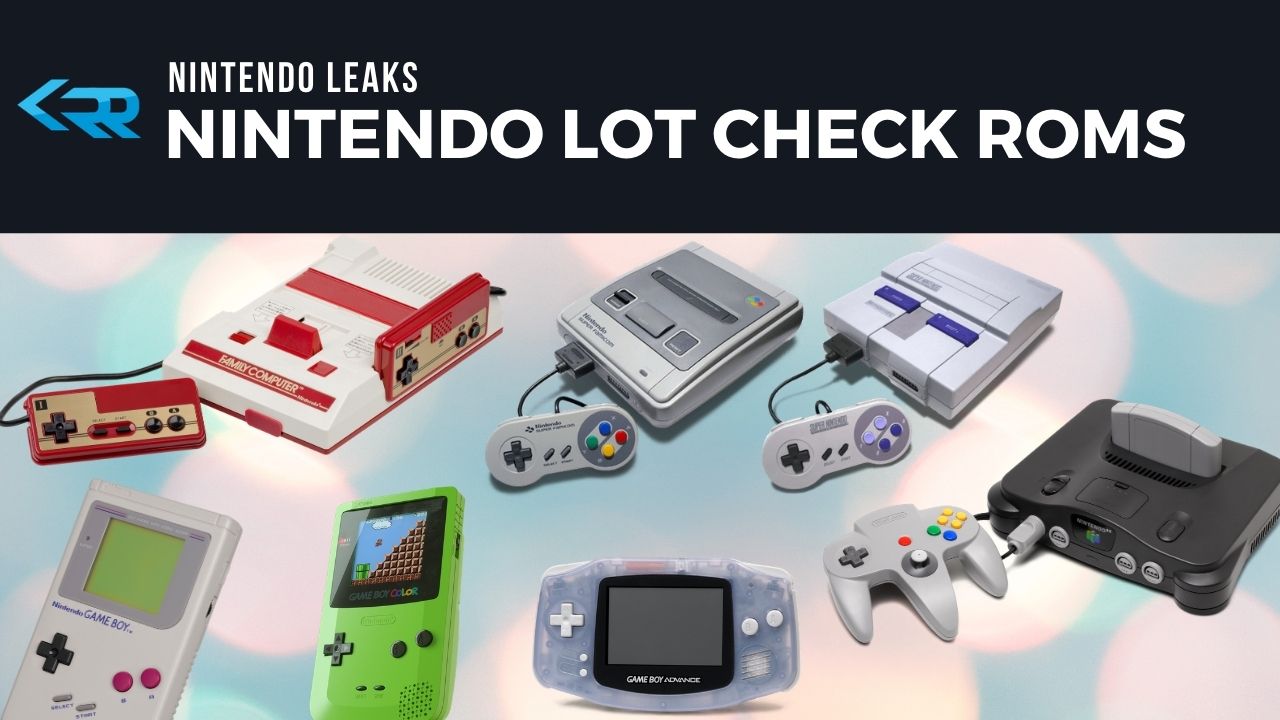
Since Nintendo controls manufacturing of all official games they have a process called Lot Check that ensures the games quality before manufacturing. Every game ever officially released for their platform... ...

Introduction To get started the 8-bit Guy on Youtube has an excellent video covering how early computers and game consoles played sound and music 1. The gives a good overview... ...

Have you ever wondered what exactly is inside those retro game Cartridges (ROMs)? In this post we will find out the purpose of ROM cartridges and how they worked. Advantages... ...

The 8-bit Guy on Youtube has an excellent series of videos covering how early computer graphics were implemented with the limitations of the hardware in mind. Memory Previously graphics chips... ...
Introduction This page will give a brief overview of how Super Mario Bros for the Nintendo Entertainment System (NES) works. This page wouldn’t have been possible without the excellent work... ...
Game Developer Magazine April 1994 Page 24 ↩
Retro Gamer Issue 96 page 55 ↩
Chunsoft 30th Anniversary – 2014 Developer Interview - shmuplations.com ↩
Ikari Warriors, Guerilla War, and The SNK Golden Age - shmuplations.com ↩
Retro Gamer Issue 84 from December 2010 pages 34–35. ↩
Hammer Editor (Eye-2) Famicom modification tool code page ↩ ↩2 ↩3 ↩4 ↩5
Hammer News Hammer Editor (Eye-2) Famicom Modification Tool Code Page ↩
Buy Quick Hunter - Parameter Disk No. 3 (Unlicensed) Nintendo Famicom Disk System Video Games on the Store ↩